How to Use Dental Floss with Braces
Daily flossing should be a part of your oral hygiene routine. Dental floss helps remove particles and plaque in the area between the gums and teeth that are otherwise unreachable by a toothbrush alone.
The actual technique for flossing is quite easy. Wind a couple of inches of dental floss around your fingers, glide it around each tooth, slide up, and repeat for each tooth. For people with braces, however, flossing can be quite a challenge.
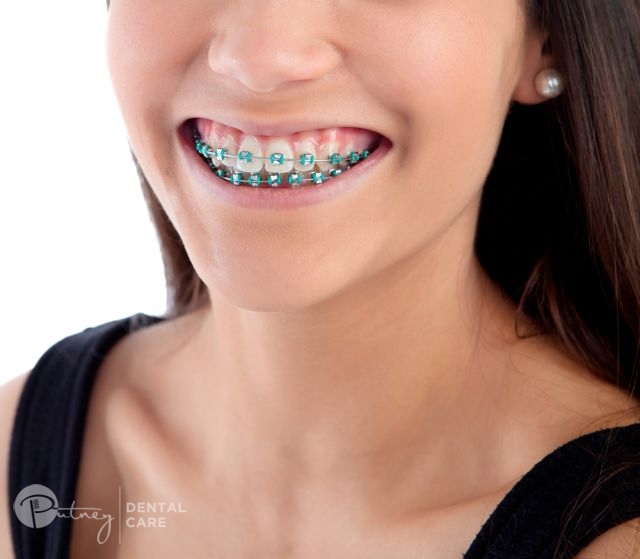
Dental braces are devices used to straighten teeth and fix various problems associated with misalignment. Because of the nooks and crannies that naturally form due to these devices, more food particles and plaque can be stuck in between them. It is doubly important to floss your teeth the proper way.
How to Floss with Braces Easily.
Here’s a step-by-step process on how to use dental floss with braces as advised by top dentists in Ryde.
- Choose the right kind of floss. There are many types of floss currently available in the market. Since braces have metal pieces, unwaxed floss may get stuck or even broken quite easily. Use waxed floss for more durability.
- Wind approximately 12-18 inches of floss around either your index and middle finger in one hand.
- Thread the floss behind the archwire of your brace. You can do this in two ways. The first way is to thread the floss directly under the archwire. However, if the gums are in the way (in the case of inflammation, for example), you may not be able to get it under. The second way is to use a floss threader. It looks like a small plastic needle that is thin and sturdy enough to go under the archwire. Thread the floss through its loop and guide through the archwire.
- Carefully push the floss between your teeth. Be mindful of the archwire of your braces. As we’ve mentioned, you don’t want your floss to be cut or get stuck between the metal pieces.
- Slide the floss deep into the gums then back with a gentle rub. This is the most common area where bacteria and food particles are trapped. Move the floss up and down several times. Don’t worry if it may seem that the floss is not getting particles out. Flossing will help in flushing out invisible bacteria that cause tooth decay, bad breath, and gum disease.
- Gently pull the dental floss out. Again, be careful in pulling the floss or else it will be trapped by the metal pieces. If you notice that there’s blood in your floss, don’t panic. This is a normal occurrence, especially for first-time floss users. As you continue your daily flossing habit, the bleeding will lessen until it would eventually disappear.
- Continue the flossing process for each tooth. Repeat the threading, rubbing, and sliding process until you get to the farthest molars in your mouth. Don’t forget the area behind your teeth.
Congratulations, you just finished flossing with braces!
Flossing with braces can take longer than normal. Use dental floss daily to develop a technique that works for you. Take your time when flossing to prevent damaging your gums and even your braces.
To learn more about proper oral hygiene, contact Putney Dental Care on (02) 9808 2588 or send us an email on [email protected]. Our Ryde dentists are more than willing to give advice, from choosing the right floss to proper techniques on how to floss with braces.
9 Best Dental Care Tips You Need to Know What are the Causes and Treatment for Bad Breath?Latest from the Dental Blog
 20 Nov 2017
Women’s Dental Health
Good dental hygiene is important for everyone’s oral health. It’s especially important for women, as natural hormonal changes throughout a…
 20 Mar 2016
Have Your Chocolate and Eat It Too!
While we all know that eating too many sweets can ruin our diets, often we forget that too many sugary…
 10 Nov 2017
Impacts of Stress on your Dental Health
With the end of the year fast approaching, a busy and stressful time can be expected for some people. An…

